Blogs
Basic Conditioning Techniques for Gamefowl: The Complete Guide
Jun
Basic Conditioning Techniques for Gamefowl
When preserving elite heritage poultry lines, physical conditioning is just as important as selecting the right genetics. Implementing basic conditioning techniques for gamefowl is not about pushing birds past their natural limits; it is a careful biological process designed to optimize their muscle density, enhance their respiratory air sacs, and improve their structural stamina.
Many independent producers assume that feeding a high-quality grain is enough to keep their birds in top form. However, without a structured physical conditioning plan, a rooster kept in a standard enclosure can easily become heavy, sluggish, and lacking in stamina. By introducing a gentle, humane, and consistent routine, you ensure your stags express their premium heritage genetics with absolute structural health.
The Biological Foundation of Stamina – Basic Conditioning Techniques
Before starting any active exercise program, remember that a bird’s respiratory system is vastly different from a mammal’s. Poultry do not have a diaphragm; instead, they rely on a series of nine interconnected air sacs that pump oxygen deep into their hollow bones and lung tissues.
Gentle Wing Aerobics ──> Air Sacs Fully Expand ──> Deep Oxygenation ──> Efficient Lactic Acid Removal ──> Rapid Muscle Recovery
To maintain heritage rooster vitality, your conditioning exercises must focus on expanding these air sacs gradually. Pushing a bird into a state of heavy, gasping exhaustion can permanently scar its delicate air tubes. True conditioning is a steady, progressive journey that builds stamina over several weeks without causing metabolic stress.
The 3-Step Physical Routine – Basic Conditioning Techniques
A standard, safe pre-conditioning cycle takes 14 to 21 days. Run your birds through these three basic exercises every other morning, always working on a soft, forgiving surface like clean grass turf or thick foam padding to protect their feet and joints.
1. The Deep Scratch Routine
Muscle building starts from the ground up. Place your rooster into a specialized 3×3 foot “scratch box” filled 6 inches deep with clean, dry wheat straw or dry oak leaves. Toss a small handful of whole grains or sunflower seeds into the center.
- The Benefit: To hunt down the grains, the bird must scratch vigorously for 10 to 15 minutes. This natural behavior acts as low-impact weight training, strengthening the thighs, hips, and lower back muscles.
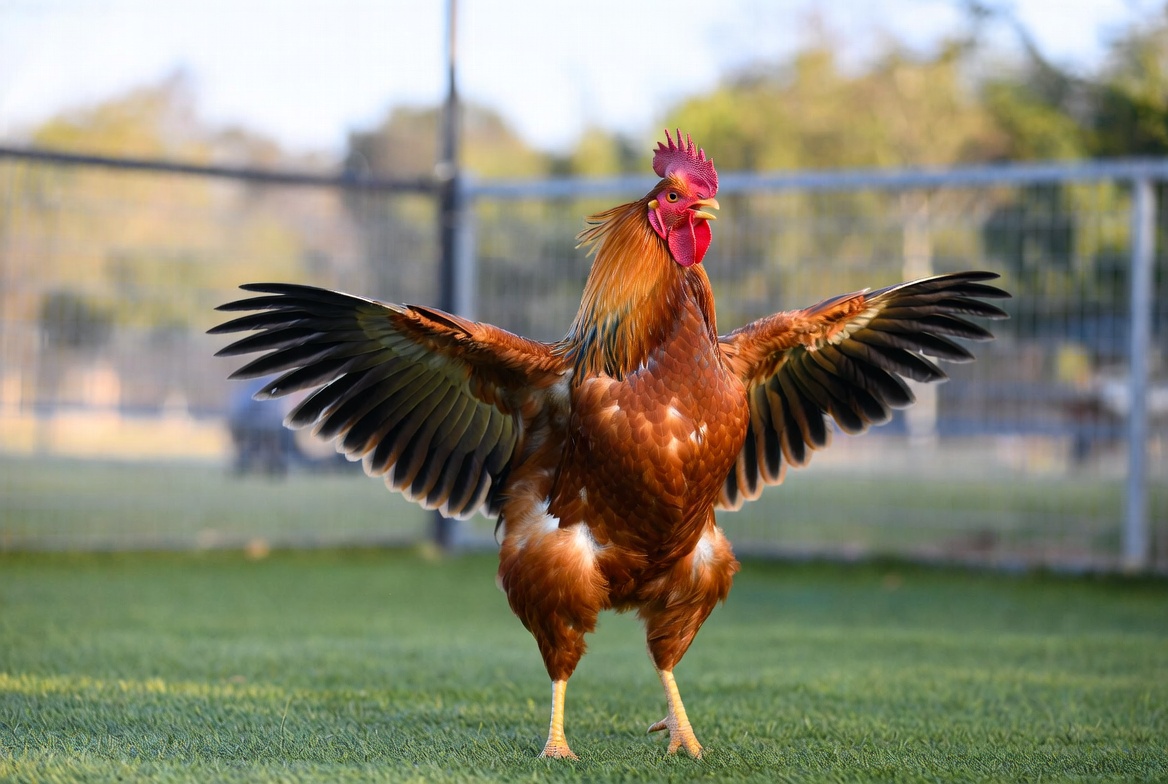
2. Padded Hand-Flies
To build poultry muscle stamina and open up the chest cavity, you must encourage controlled wing movement. Securely support the bird’s breast over a padded hand-perch or your forearm. Gently lower your hand a few inches, which triggers the rooster’s natural balancing instinct to flap its wings steadily.
- The Blueprint: Execute 8 to 10 gentle repetitions per session. This controlled movement stretches the pectoral muscles and flushes fresh oxygen through the bird’s entire respiratory framework.
3. Walk-Ups and Coordination Stretches
Place your bird on a long, clean grass alleyway. Standing 6 to 8 feet away, gently nudge the rooster to walk back and forth toward a companion pen or feed cup. This simple movement stretches out the hamstring tendons, ensures the hock joints stay lubricated, and improves structural coordination.
Fueling the Athlete: Conditioning Nutrition – Basic Conditioning Techniques
You cannot run a premium conditioning routine on a standard maintenance diet. As a bird’s physical activity increases, its body burns through carbohydrates and clean fats at an accelerated rate.
[Base 16% Maintenance Pellet] ──> Transition to ──> [70% Whole Grains (Oats/Corn) + 30% Clean High-Protein Flakes + Honey Water]
To optimize your pre conditioning poultry diet, reduce wet, heavy mashes and transition to a hard, clean grain mix.
- Whole Oats: Oats are the absolute baseline of a conditioning diet. They are packed with dietary fiber that keeps the digestive system lean, clean, and free of excess fat buildup.
- Cracked Yellow Corn: Corn delivers highly concentrated carbohydrates, providing the necessary sugars to replenish muscle glycogen stores after an exercise session.
- Hydration Metrics: Add a single teaspoon of raw honey or a pinch of clean electrolytes to the fresh drinking water on exercise days to speed up recovery and keep muscle tissues fully hydrated.
Conditioning Progress Tracking Guide – Basic Conditioning Techniques
Keep your conditioning project organized and safe by using this clear, structural progress tracking chart:
| Conditioning Phase | Daily Exercise Volume | Nutritional Target | Primary Observation Duty |
| Week 1: Foundations | 5 mins scratch box; 5 gentle hand-flies. | 16% Protein base mixed with 30% whole oats. | Check bottom of feet for scratches; monitor dropping consistency. |
| Week 2: Stamina Ramp | 10 mins scratch box; 8 controlled flies. | 18% Clean grain mix; add honey hydration water. | Listen closely to breathing; look for bright red comb tissue. |
| Week 3: Peak Form | 15 mins scratch box; 10 smooth flies. | Premium hard grain mix; introduce sunflower fats. | Monitor weight closely; verify the chest muscles feel firm and plump. |
Frequently Asked Questions on Basic Conditioning Techniques
Can I condition a rooster that is currently in a molt? – Basic Conditioning Techniques
No. Never subject a bird to a conditioning or exercise routine while it is actively dropping or regrowing feathers. During a molt, a bird’s metabolic energy is entirely redirected toward creating keratin for new plumage. Furthermore, emerging blood feathers are highly sensitive and painful; exercising a molting bird can cause intense physical stress or severe bleeding.
How can I tell if my bird is getting over-conditioned or stressed? – Basic Conditioning Techniques
The quickest indicator of over-conditioning is visible lethargy combined with a pale, shrunken comb. If a bird stands with its wings slightly drooping, pants heavily for more than two minutes after a gentle session, or refuses its daily grain mix, its body is struggling with lactic acid buildup. Stop all exercises immediately and give the bird 48 hours of complete rest in a quiet, dark pen.
Why is dark rest so critical during the conditioning phase? – Basic Conditioning Techniques
Muscles do not grow while a bird is actively exercising; they grow and repair during periods of deep, uninterrupted rest. After completing a morning exercise session, place your rooster in a quiet, darkened rest stall or tie-stall for several hours. This calm environment lowers their heart rate, reduces cortisol levels, and allows their body to efficiently repair micro-tears in the muscle fibers.
Build Long-Term Structural Vitality
Mastering these basic conditioning techniques for gamefowl elevates your husbandry from basic feeding into a precise science. By combining natural scratch-box workouts with low-impact hand flights, proper carbohydrate fuel, and restorative rest windows, you protect your birds from structural injuries. This systematic approach ensures your valued heritage bloodlines stay lean, healthy, and full of natural vitality for generations to come.
Products by Category
-

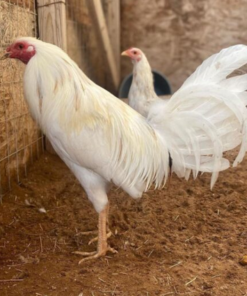
White Kelso Gamefowl for Sale – Premium Heritage Bloodline Birds
Price range: $180.00 through $525.00